Logic Pro Keyboard Shortcuts: The Complete Guide for Mac
Learn Logic Pro shortcuts for Mac recording, playback, tracks, region editing, zoom, mixing, bouncing, and custom key commands, with preset and focus tips.
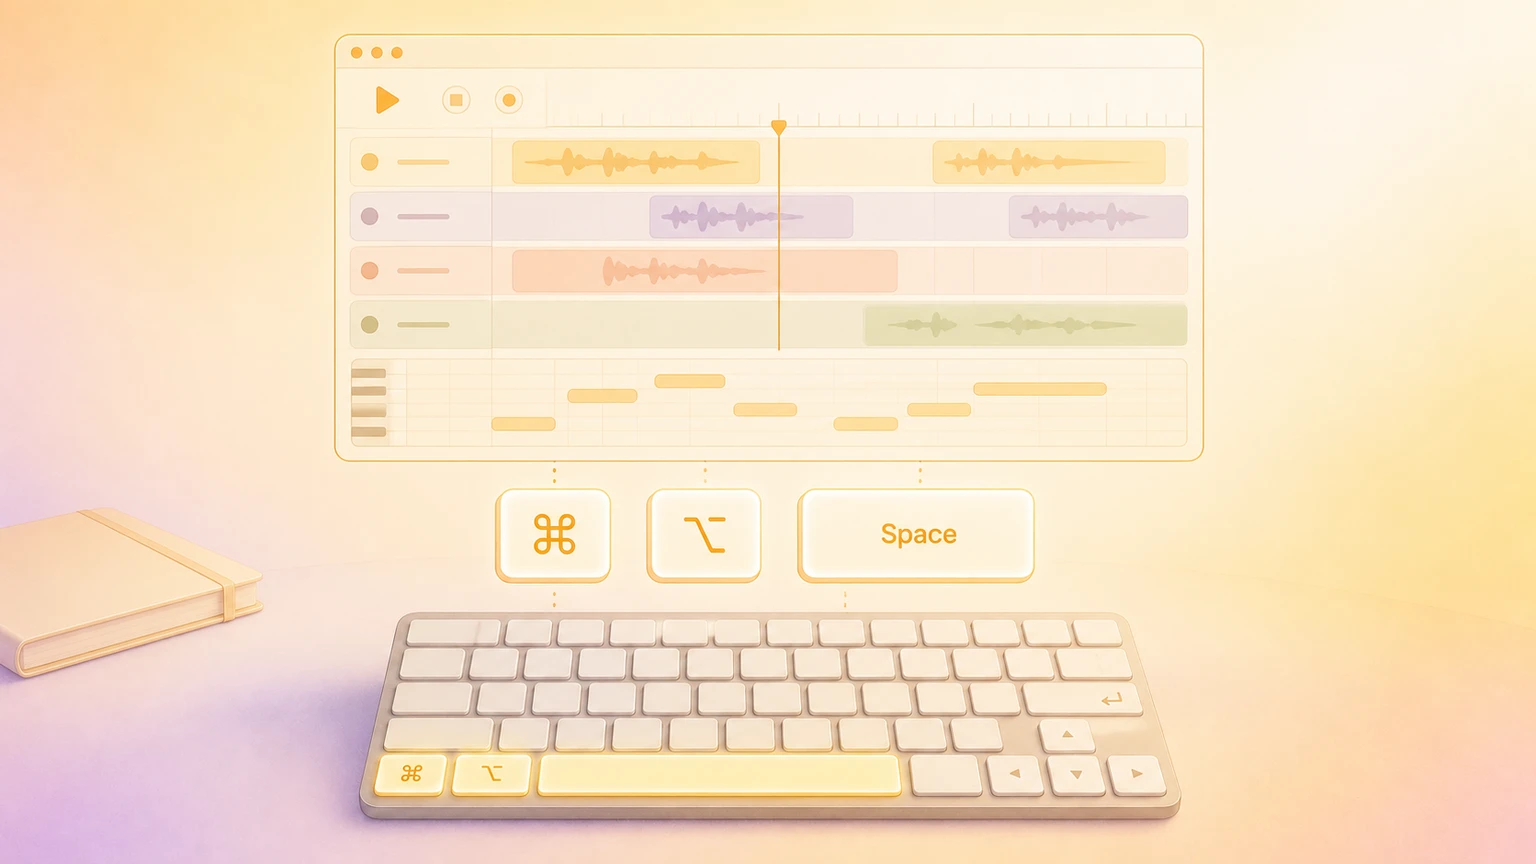
Logic Pro brings recording, MIDI editing, arrangement, and mixing into one Mac app. Shortcuts are especially useful when you repeat the same actions while auditioning a take, building a song section, or explaining a production technique.
The tables below use Apple's current U.S. default key command preset. Your assignments may differ with another preset, keyboard layout, version, or custom key command set. Check the Key Commands window on your Mac before changing a familiar workflow. These are Mac app shortcuts; the iPad app has its own controls.
Essential playback and recording shortcuts
Start with these commands from Apple's global key command reference.
| Action | Shortcut |
|---|---|
| Start or stop playback | Space |
| Begin recording | R |
| Move to the project beginning | Return |
| Switch Cycle mode on or off | C |
| Switch the metronome on or off | K |
| Switch the count-in on or off | ⇧ + K |
| Play from the selection | ⇧ + Space |
| Set rounded locators from the selection and enable Cycle | U |
| Set locators from the selection without rounding and enable Cycle | ⌘ + U |
Pro tip: select the regions for a section, press U, then use Space to audition it repeatedly. Use ⌘ + U when you want the locator range to follow the selection without rounding.
Focus matters. Apple's transport guide explains that Space can preview audio in the Audio File Editor or a browser when that area has keyboard focus. Click the Tracks area when you intend to control the arrangement.
Apple also marks numeric-keypad-only assignments separately. Return on a compact keyboard is different from keypad Enter, so this guide uses the compact-friendly playback commands above.
Projects, saving, and everyday edits
Keep project commands separate from editing commands: a project contains tracks, while the current selection may contain regions or individual MIDI notes.
| Action | Shortcut |
|---|---|
| Create a project from a template | ⌘ + N |
| Create an empty project | ⌘ + ⇧ + N |
| Open a project | ⌘ + O |
| Save the project | ⌘ + S |
| Save the project under another name | ⌘ + ⇧ + S |
| Undo an edit | ⌘ + Z |
| Redo an edit | ⌘ + ⇧ + Z |
| Copy the selection | ⌘ + C |
| Paste | ⌘ + V |
| Select everything in the focused editing area | ⌘ + A |
Apple lists project actions in the global reference and editing actions in its Various Windows table. Before pasting or selecting everything, check which editor is active. A Piano Roll selection and a Tracks area selection operate on different material.
Add, find, and organize tracks
These assignments come from Apple's Tracks and Various Editors reference and Main Window Tracks reference.
| Action | Shortcut |
|---|---|
| Open the New Tracks dialog | ⌘ + ⌥ + N |
| Add an audio track | ⌘ + ⌥ + A |
| Add a software instrument track | ⌘ + ⌥ + S |
| Add a track using the selected track's settings | ⌘ + D |
| Search for and select a track | ⌃ + ⌘ + T |
| Import an audio file | ⌘ + ⇧ + I |
| Rename the track | ⇧ + Return |
| Create a Track Stack | ⌘ + ⇧ + D |
| Toggle the track's record-enable state | ⌃ + R |
Pro tip: ⌘ + D duplicates track settings. It is useful for adding another part that needs the same sound or processing, but it does not duplicate the original track's regions. Check the track header and input before recording onto the new track.
Edit, repeat, and move regions
Use these in the Tracks area or an applicable editor with the intended regions or events selected. Apple's Tracks and Various Editors table documents the defaults.
| Action | Shortcut |
|---|---|
| Split the selection at the playhead | ⌘ + T |
| Split at the locators or marquee selection | ⌘ + ⌥ + T |
| Join the selected regions or notes | ⌘ + J |
| Repeat selected regions or events | ⌘ + R |
| Enable or disable region looping | L |
| Mute or unmute selected regions or notes | ⌃ + M |
| Apply quantization to the selection | Q |
| Dequantize the selection | ⌘ + ⌥ + Q |
| Nudge the selection left or right | ⌥ + ← / ⌥ + → |
| Enable or disable Snap to Grid | ⌘ + G |
The nudge distance follows the current nudge value. Check it before moving material: a small timing correction and a whole-bar move need different amounts.
For MIDI timing, inspect the quantize value before pressing Q. Apple's region quantization guide explains how the chosen grid affects note positions. Quantizing audio requires the appropriate Flex setup. For a natural performance, audition the result instead of assuming every note should land exactly on the grid.
Zoom, tools, and editing views
The Various Windows reference documents these navigation defaults.
| Action | Shortcut |
|---|---|
| Open the tool menu | T |
| Zoom out horizontally | ⌘ + ← |
| Zoom in horizontally | ⌘ + → |
| Zoom out vertically | ⌘ + ↑ |
| Zoom in vertically | ⌘ + ↓ |
| Toggle zoom to the selection or all contents | Z |
| Store a navigation snapshot | ⇧ + Z |
| Go back through navigation snapshots | ⌥ + Z |
| Go forward through navigation snapshots | ⌥ + ⇧ + Z |
Pro tip: select a region and use Z to inspect the edit closely. Store a navigation snapshot before moving to another part of the session, then use the back command to revisit that view.
Mixing, instruments, and bouncing
The global and Main Window Tracks references cover these commands. Pane toggles and window-opening commands are distinct: for example, X toggles the Mixer inside the main window.
| Action | Shortcut |
|---|---|
| Show or hide the Mixer pane | X |
| Show or hide Smart Controls | B |
| Show or hide the Piano Roll | P |
| Show or hide the Library | Y |
| Show or hide the Loop Browser | O |
| Show or hide automation | A |
| Open the bounce dialog | ⌘ + B |
| Bounce selected regions in place | ⌃ + B |
| Bounce tracks in place | ⌃ + ⌘ + B |
| Show or hide Musical Typing | ⌘ + K |
Before a project bounce, check the range. Apple's bounce range guide explains that Cycle locators or selected regions can determine the exported span. Inspect the dialog's start and end positions so a practice loop does not become an accidentally short export.
For bouncing regions in place, review the destination, source handling, and effects-tail options before confirming. This renders material into audio in the arrangement, which serves a different purpose from exporting the final mix.
Musical Typing lets you play a selected software instrument from your computer keyboard. While using it, follow the key layout shown in its window. Return focus to your editing area before practicing single-letter editing commands.
Discover and customize Logic Pro shortcuts
Open Logic Pro → Key Commands → Edit Assignments, or press ⌥ + K. Apple's key command overview also describes opening the relevant assignment by holding ⌃ while choosing a menu command.
Use the search field to find a command by its function. The Pressed filter lets you check what a key combination currently does, Unused finds unassigned commands, and Conflicts helps diagnose overlapping assignments. These controls are documented in Apple's browse, import, and save guide.
To create your own assignment, follow Apple's assignment guide:
- Select the command in the Key Commands window.
- Turn on Learn by Key Label.
- Press the key combination you want to assign.
- Review any conflict alert before replacing an existing assignment.
- Turn off Learn mode when finished.
Use Action → Save As to save a copy of your key command set before switching presets or importing another set. A full import replaces existing assignments; save the current set first. Custom assignments are personal settings, not universal Logic Pro defaults.
If a shortcut behaves unexpectedly, check the active editor, your selection, the loaded preset, and macOS shortcut conflicts. Start by learning a small group for one task, such as recording a take or editing a chorus, then add more as those actions become familiar.
Show Logic Pro shortcuts on screen
When recording a music-production lesson, teaching MIDI editing, or walking someone through an arrangement, keyboard actions can be difficult to follow. KeyScreen shows your keystrokes on screen so viewers can see a region split, a zoom command, or a custom key combination as you demonstrate it.
Pair the overlay with a readable timeline and a brief pause after each edit. Creators, teachers, and support teams can also get KeyScreen on the Mac App Store for their Mac tutorials.